Category: Inspiration
-
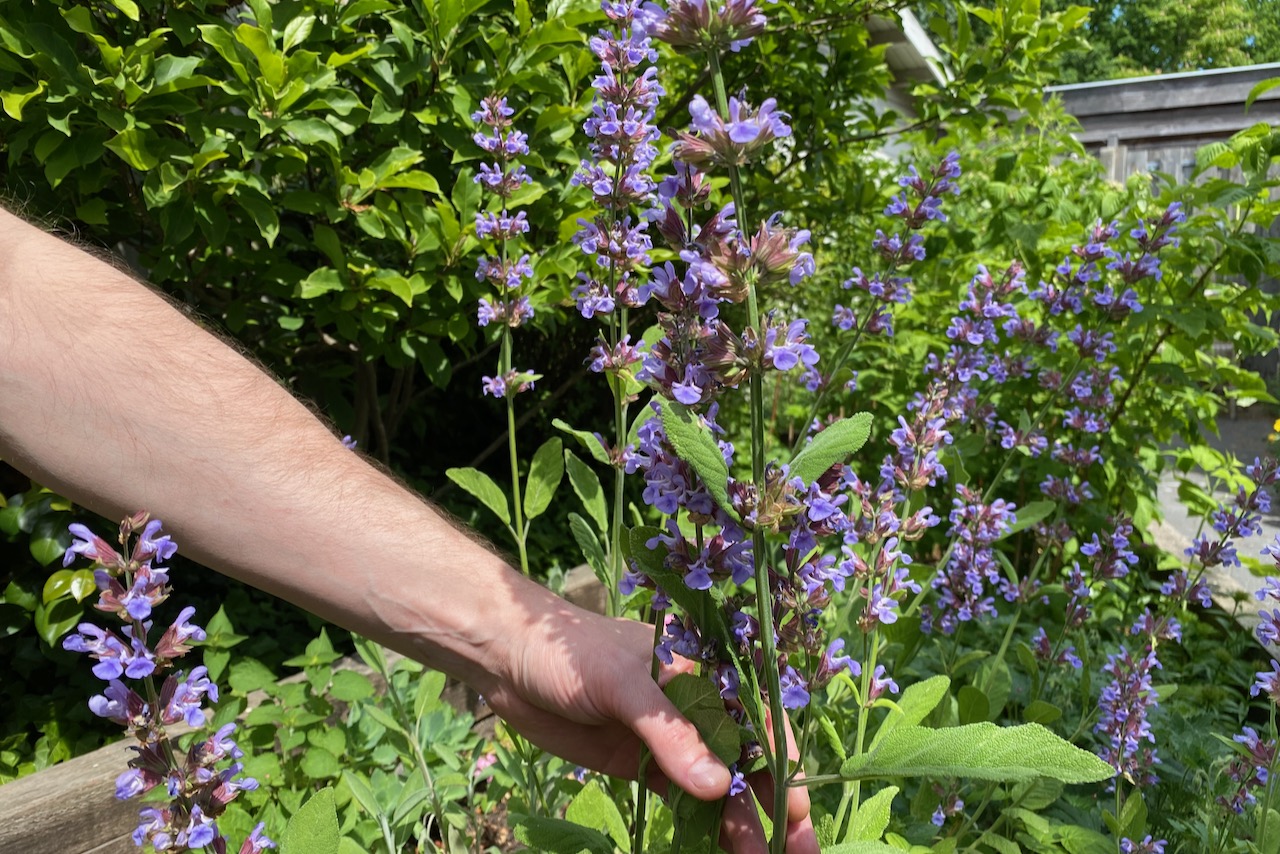
Father’s Day gifts for guys who like gardening
Next time you’re wondering what gift to get for a guy who likes gardening, whether for Father’s Day or any other special occasion, you can start here.
-
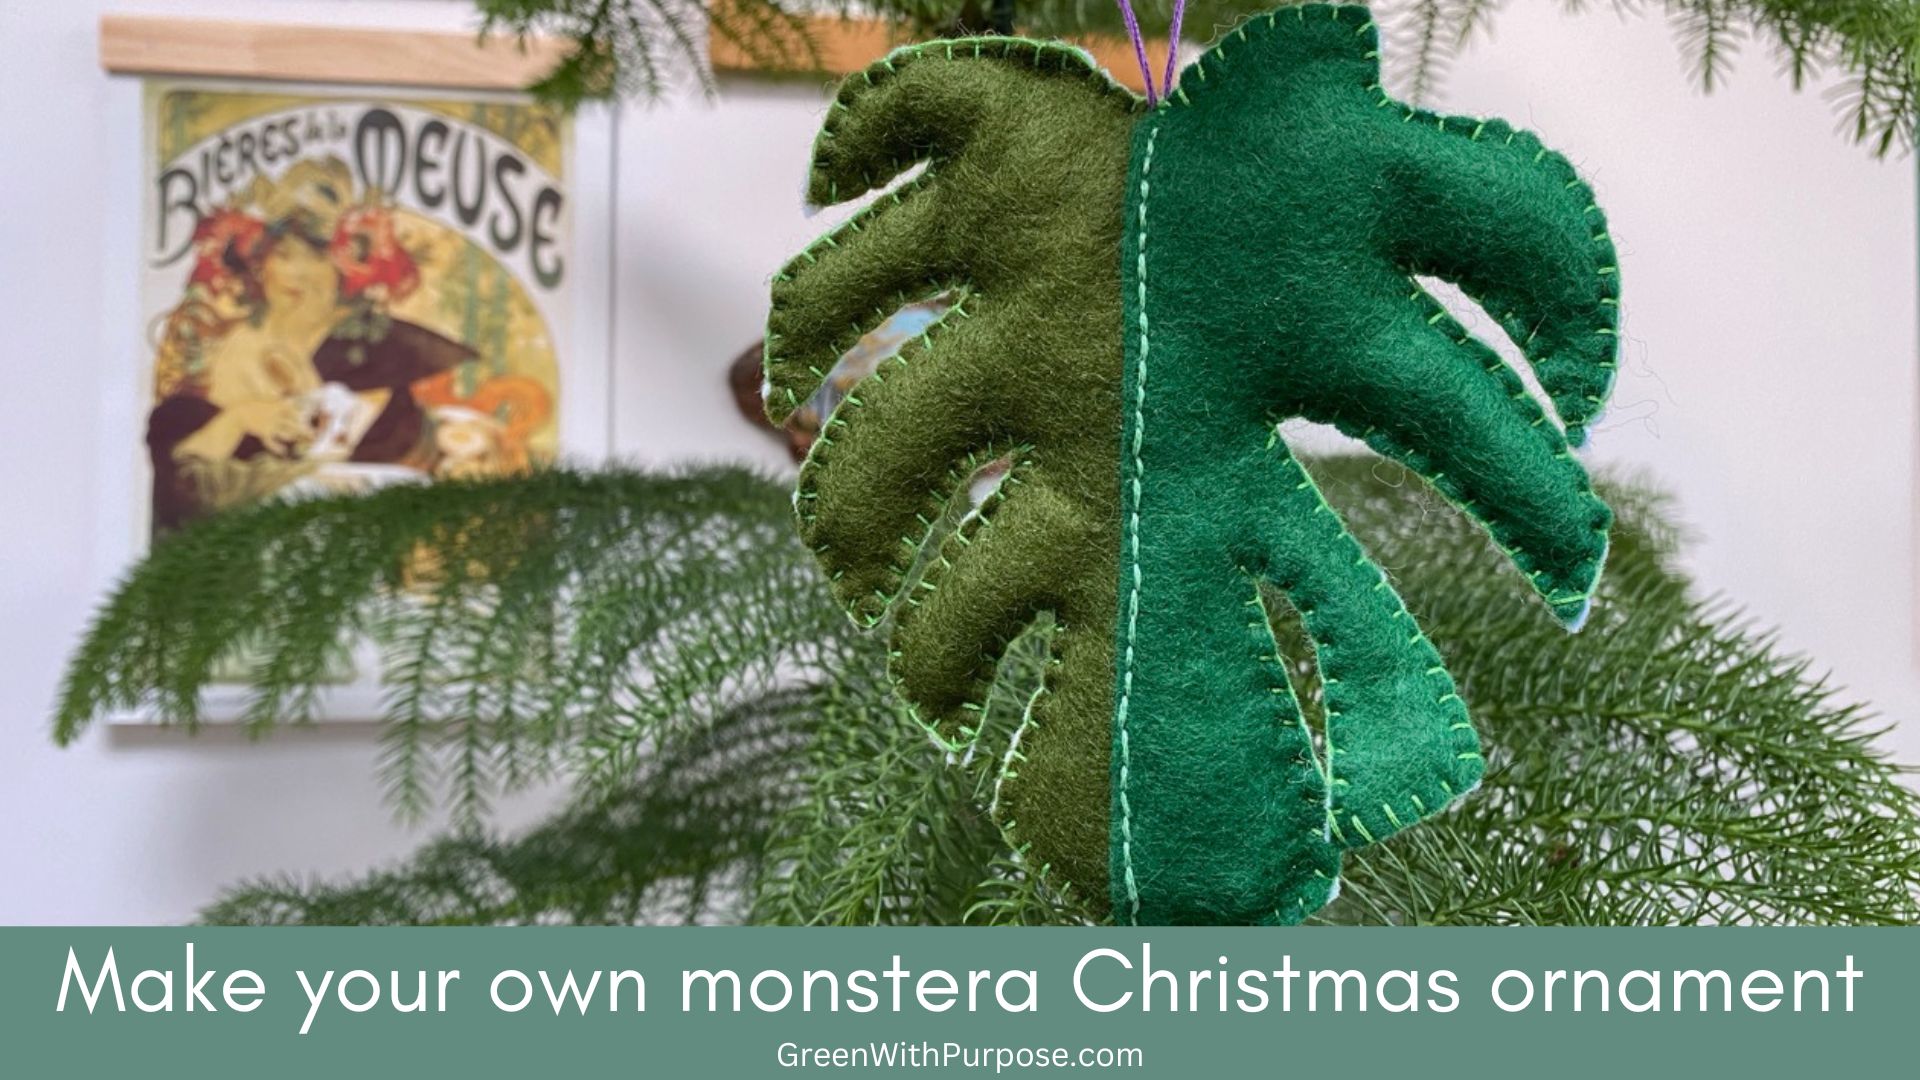
Make your own monstera Christmas ornament
How to make your own monstera oranment – for Christmas or just for plant decor.
-
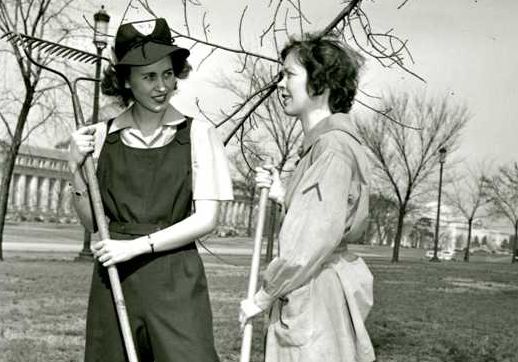
Link with Purpose: Farmerettes, biophilic design and Georgia O’Keeffe’s Hawaii Work
A short guide to what we’ve been reading about plants this week. Farmerettes, biophilic design and Georgia O’Keeffe’s Hawaii work
-
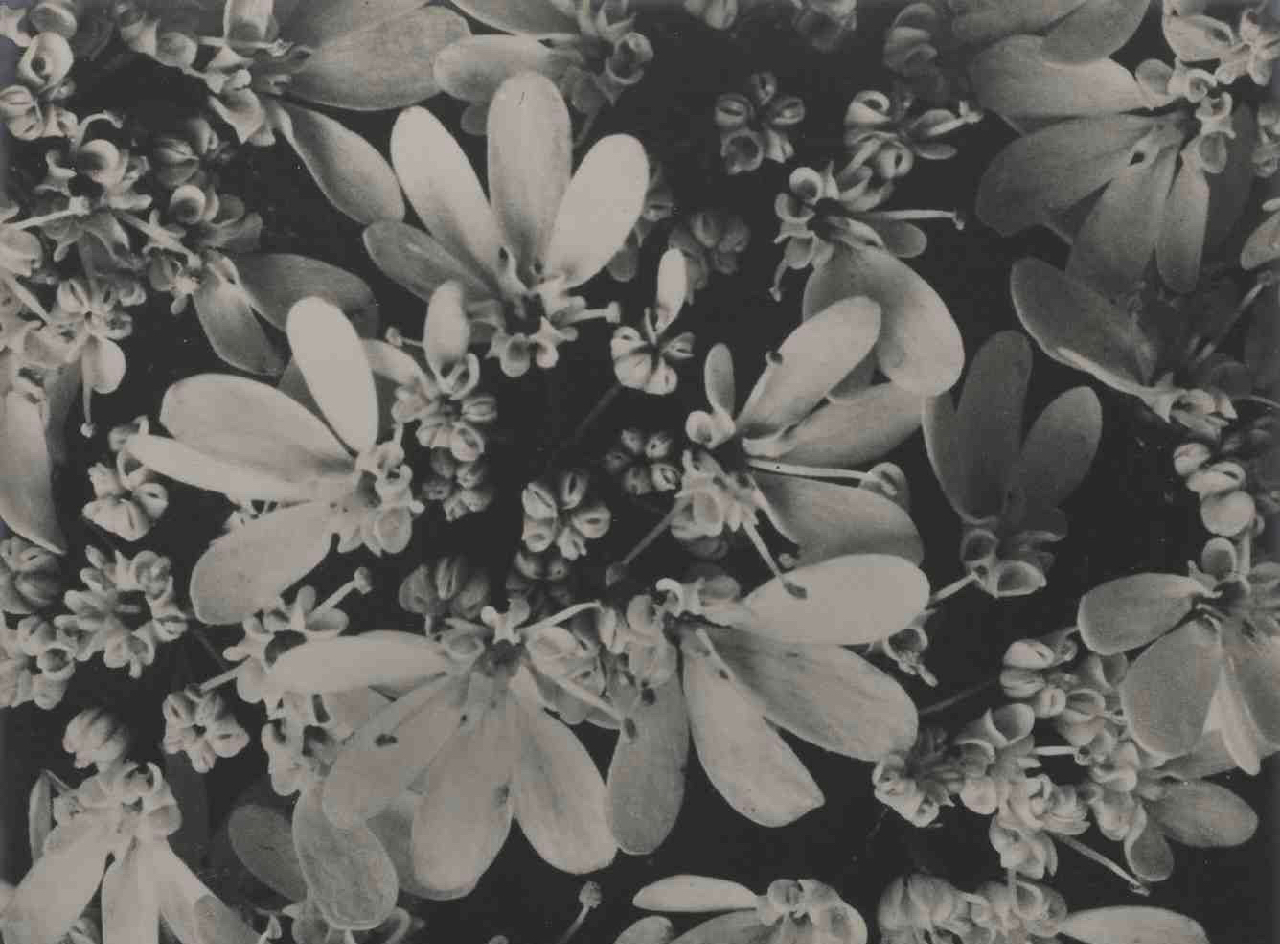
Meet Karl, the Original Plantstagramer
Before there was Instragram and #plantsofinstagram, there was Karl Blossfeldt, the master of macro plant photography.